Crochet Lace Summer Top
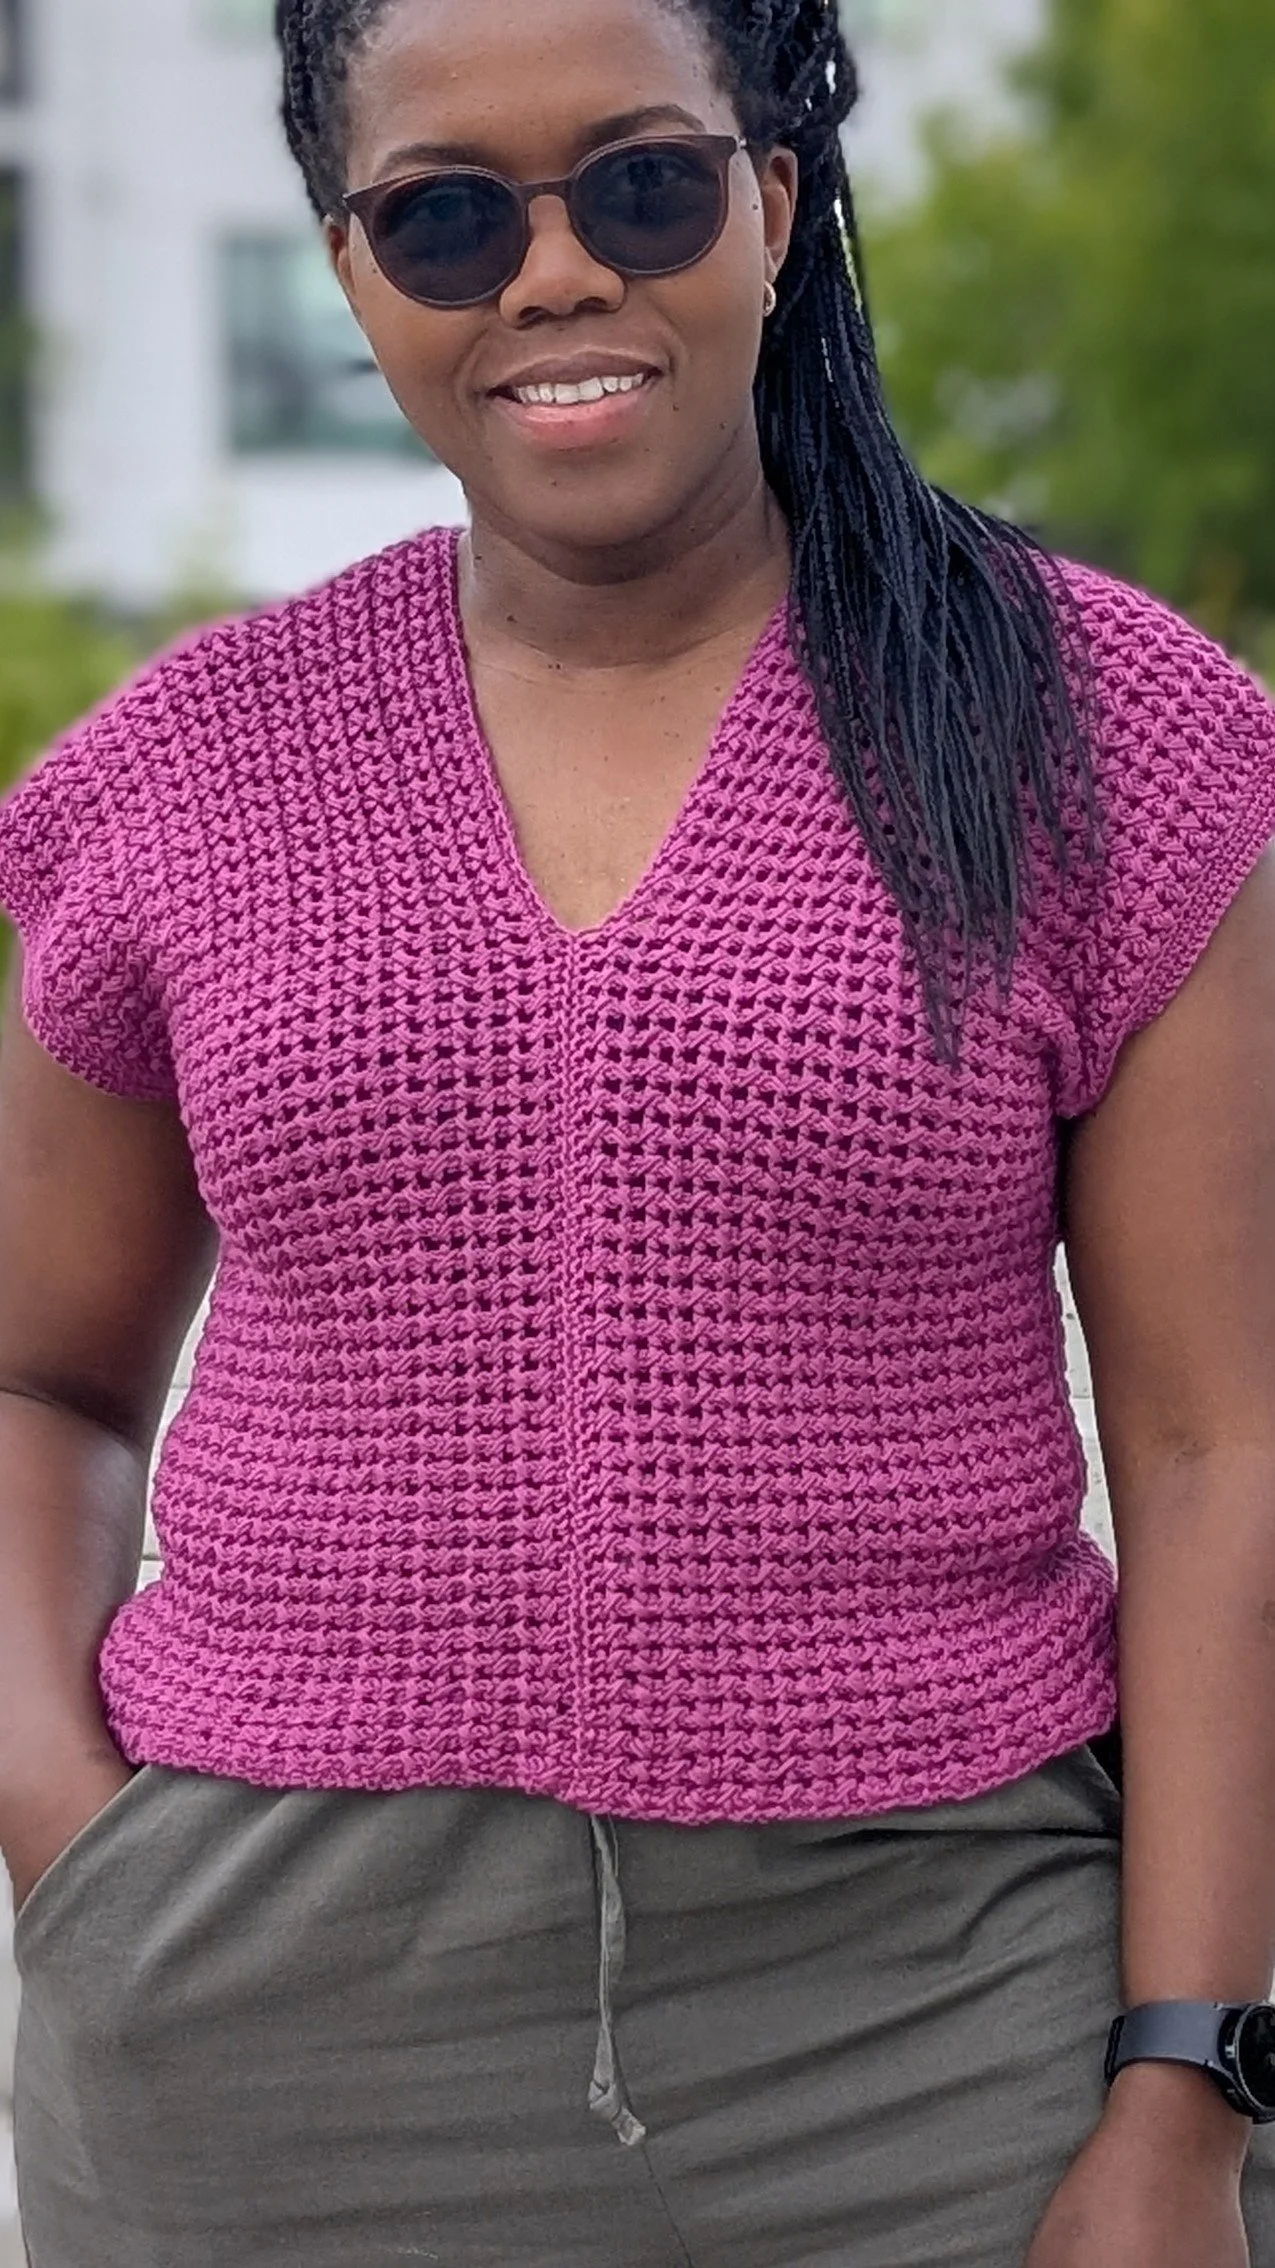
Can you crochet a rectangle? Then you can crochet Paula top. This simple airy top is perfect for a beginner as they improve their skill and moving into garment making. Paula top is made up of two identical rectangles seamed together in the middle creating a V neck neck. The Depth of the neckline is also easy to modify, because the 2 panels are made separately, it becomes an issue if the panels are made as once piece. I thought of designing it as one piece and decided against it. The problem will arise if the neckline is too shallow and the head won’t fit hence went this separate panels.
The Idea came about when I wanted to design a pattern that would be the simplest to modify. Perfect for ‘made to fit’ design. You will need to know a basic stitches of double crochet.
Some people do not like to go through reading a pattern and this pattern allows you to make it into your own without difficulty.
The important things you need to know about the pattern are
· You need multiples of two to make the top, meaning you should have even number one chains before you begin your first row
· The width of the top is made up of two rectangles, decide how you want the fit to be and adjust accordingly.
· The beginning chains determines the length of your top, you want a cropped top, have few chains, you want longer top? Add more chains.
I must admit I Love this stitch because it is simple, it creates enough open stitches/lace without revealing too much. If you want to be modest, all you have to do is wear tank underneath, still look stylish and enjoy the lace top. The stitches are made between stitches not into the top of the previous stitch

If you prefer visuals, here is a video tutorial of the top!!
Disclaimer
This page contains affiliate link to product I use and love.If you click and purchase, I receive a small commission at no cost for you
You can find AD free PDF Pattern in the links below
PURCHASE AD FREE PATTERN BELOW
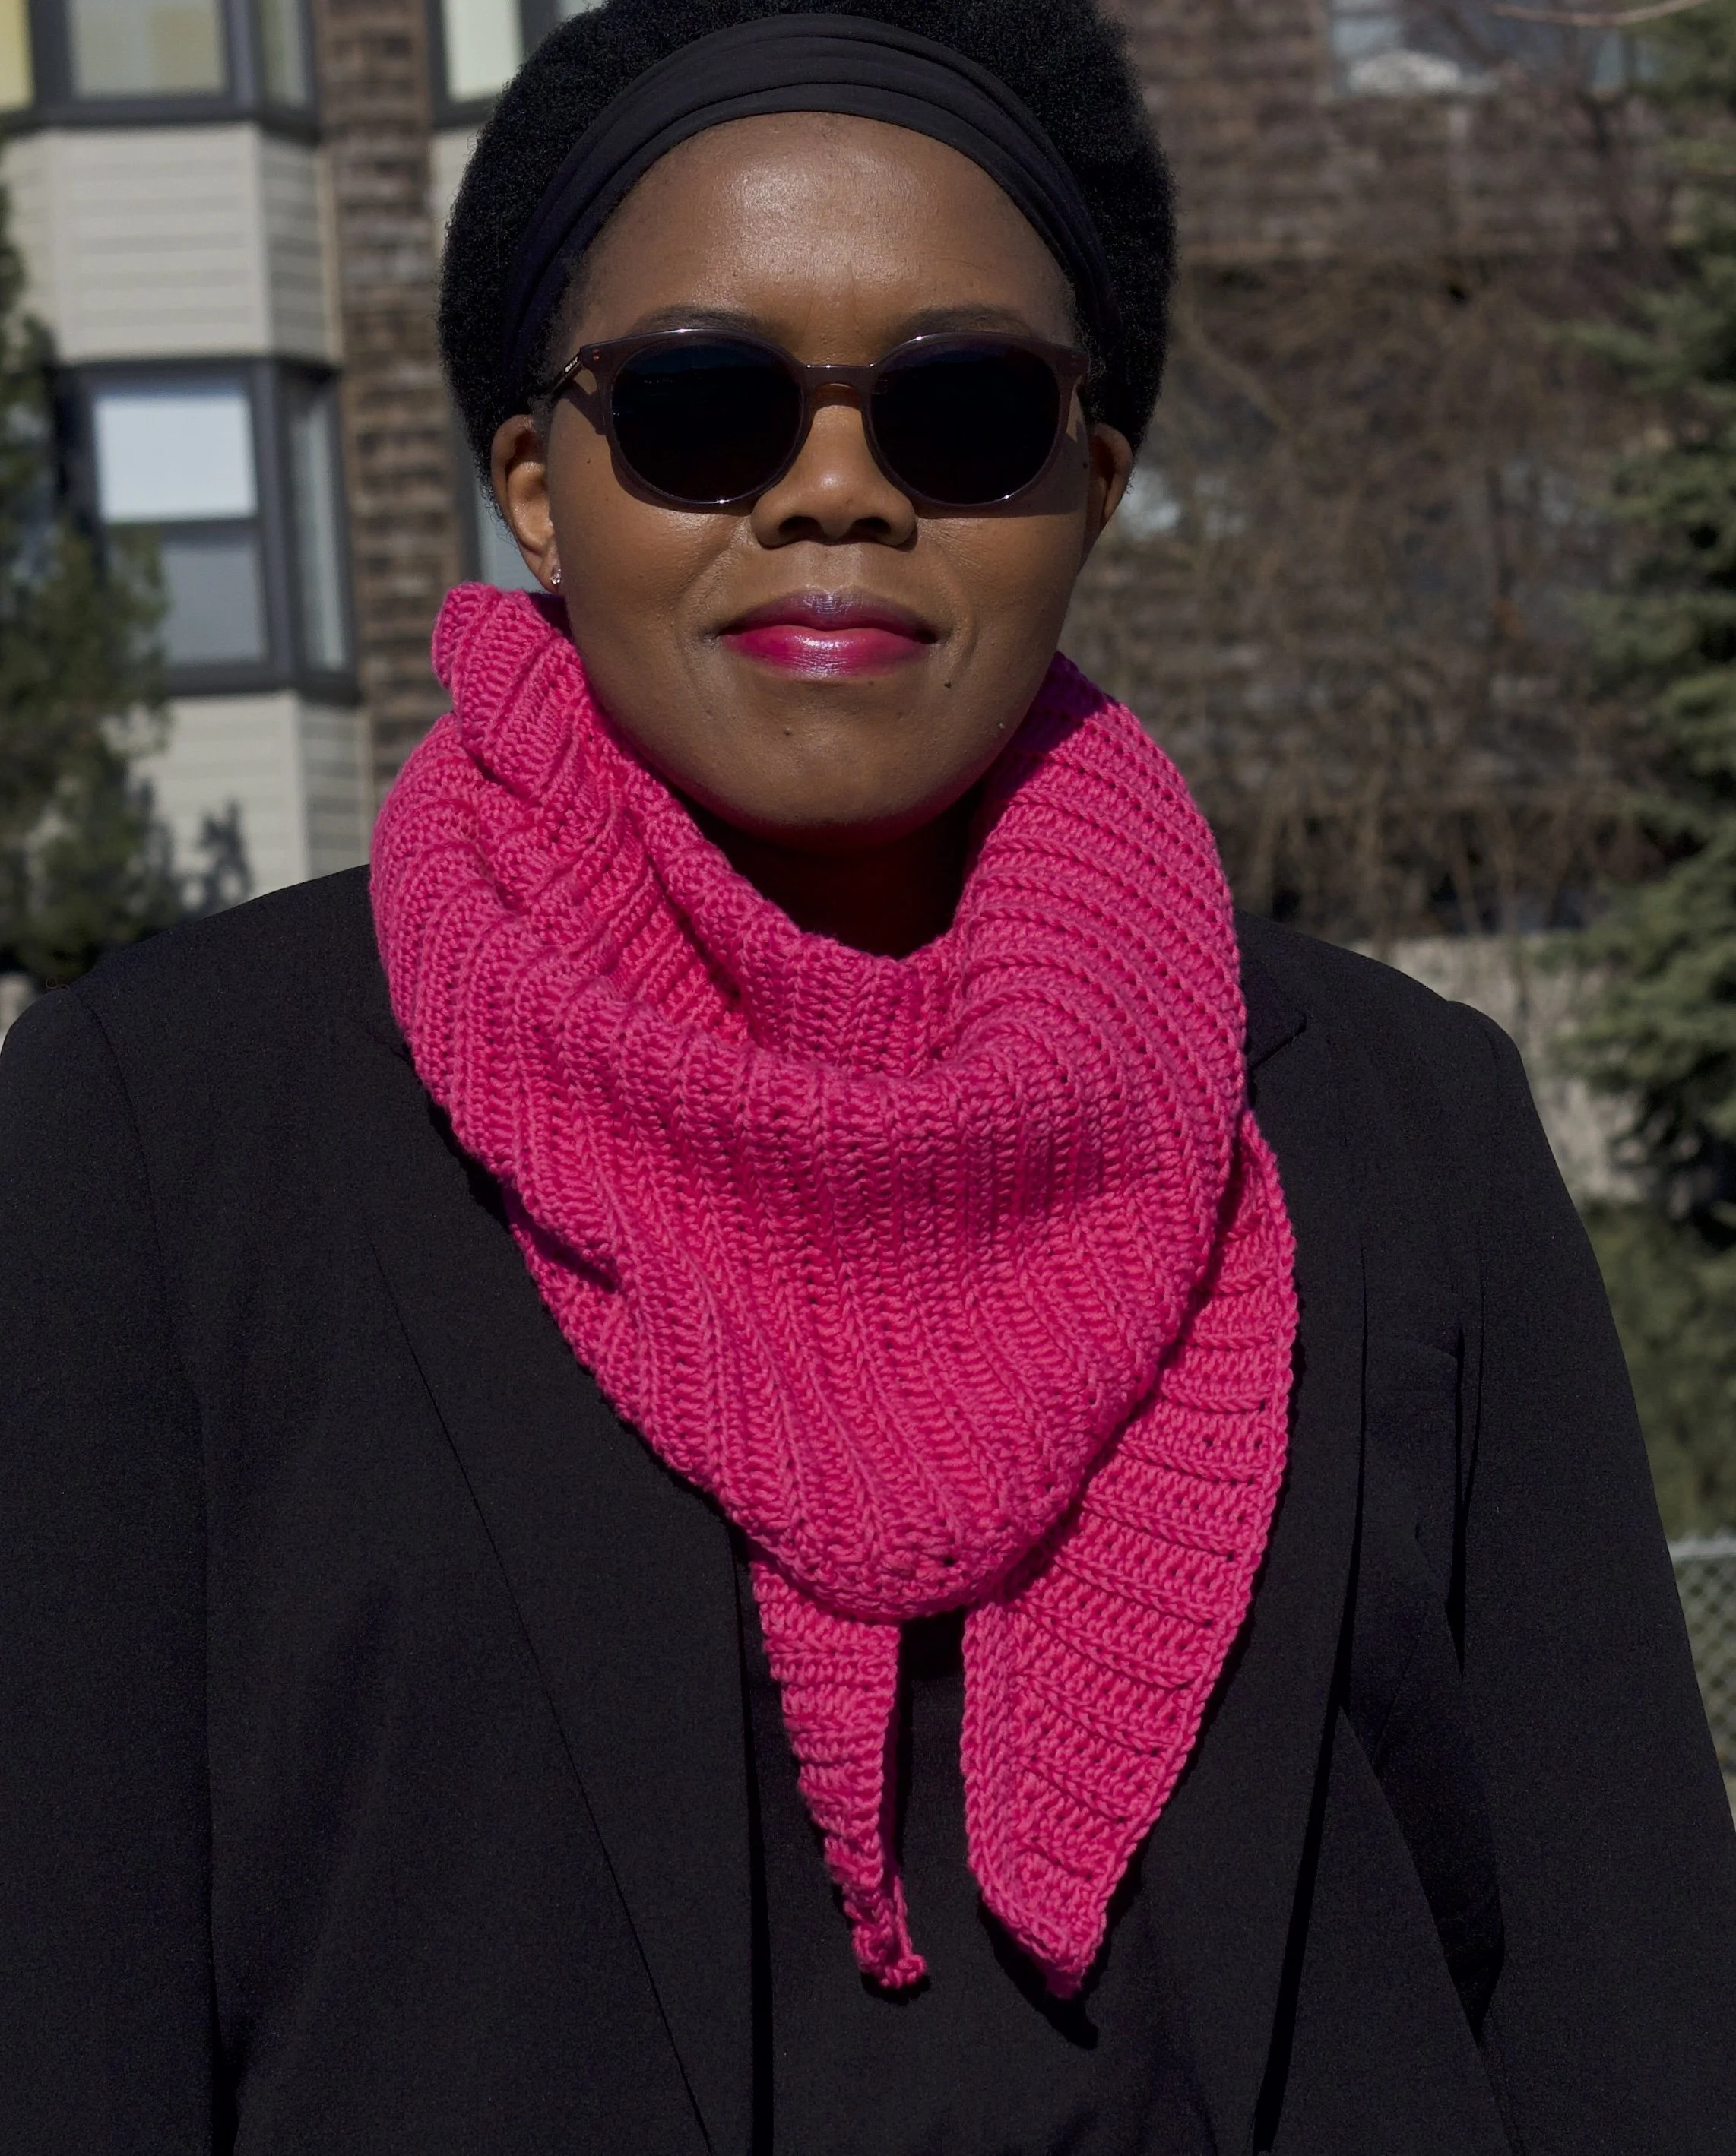
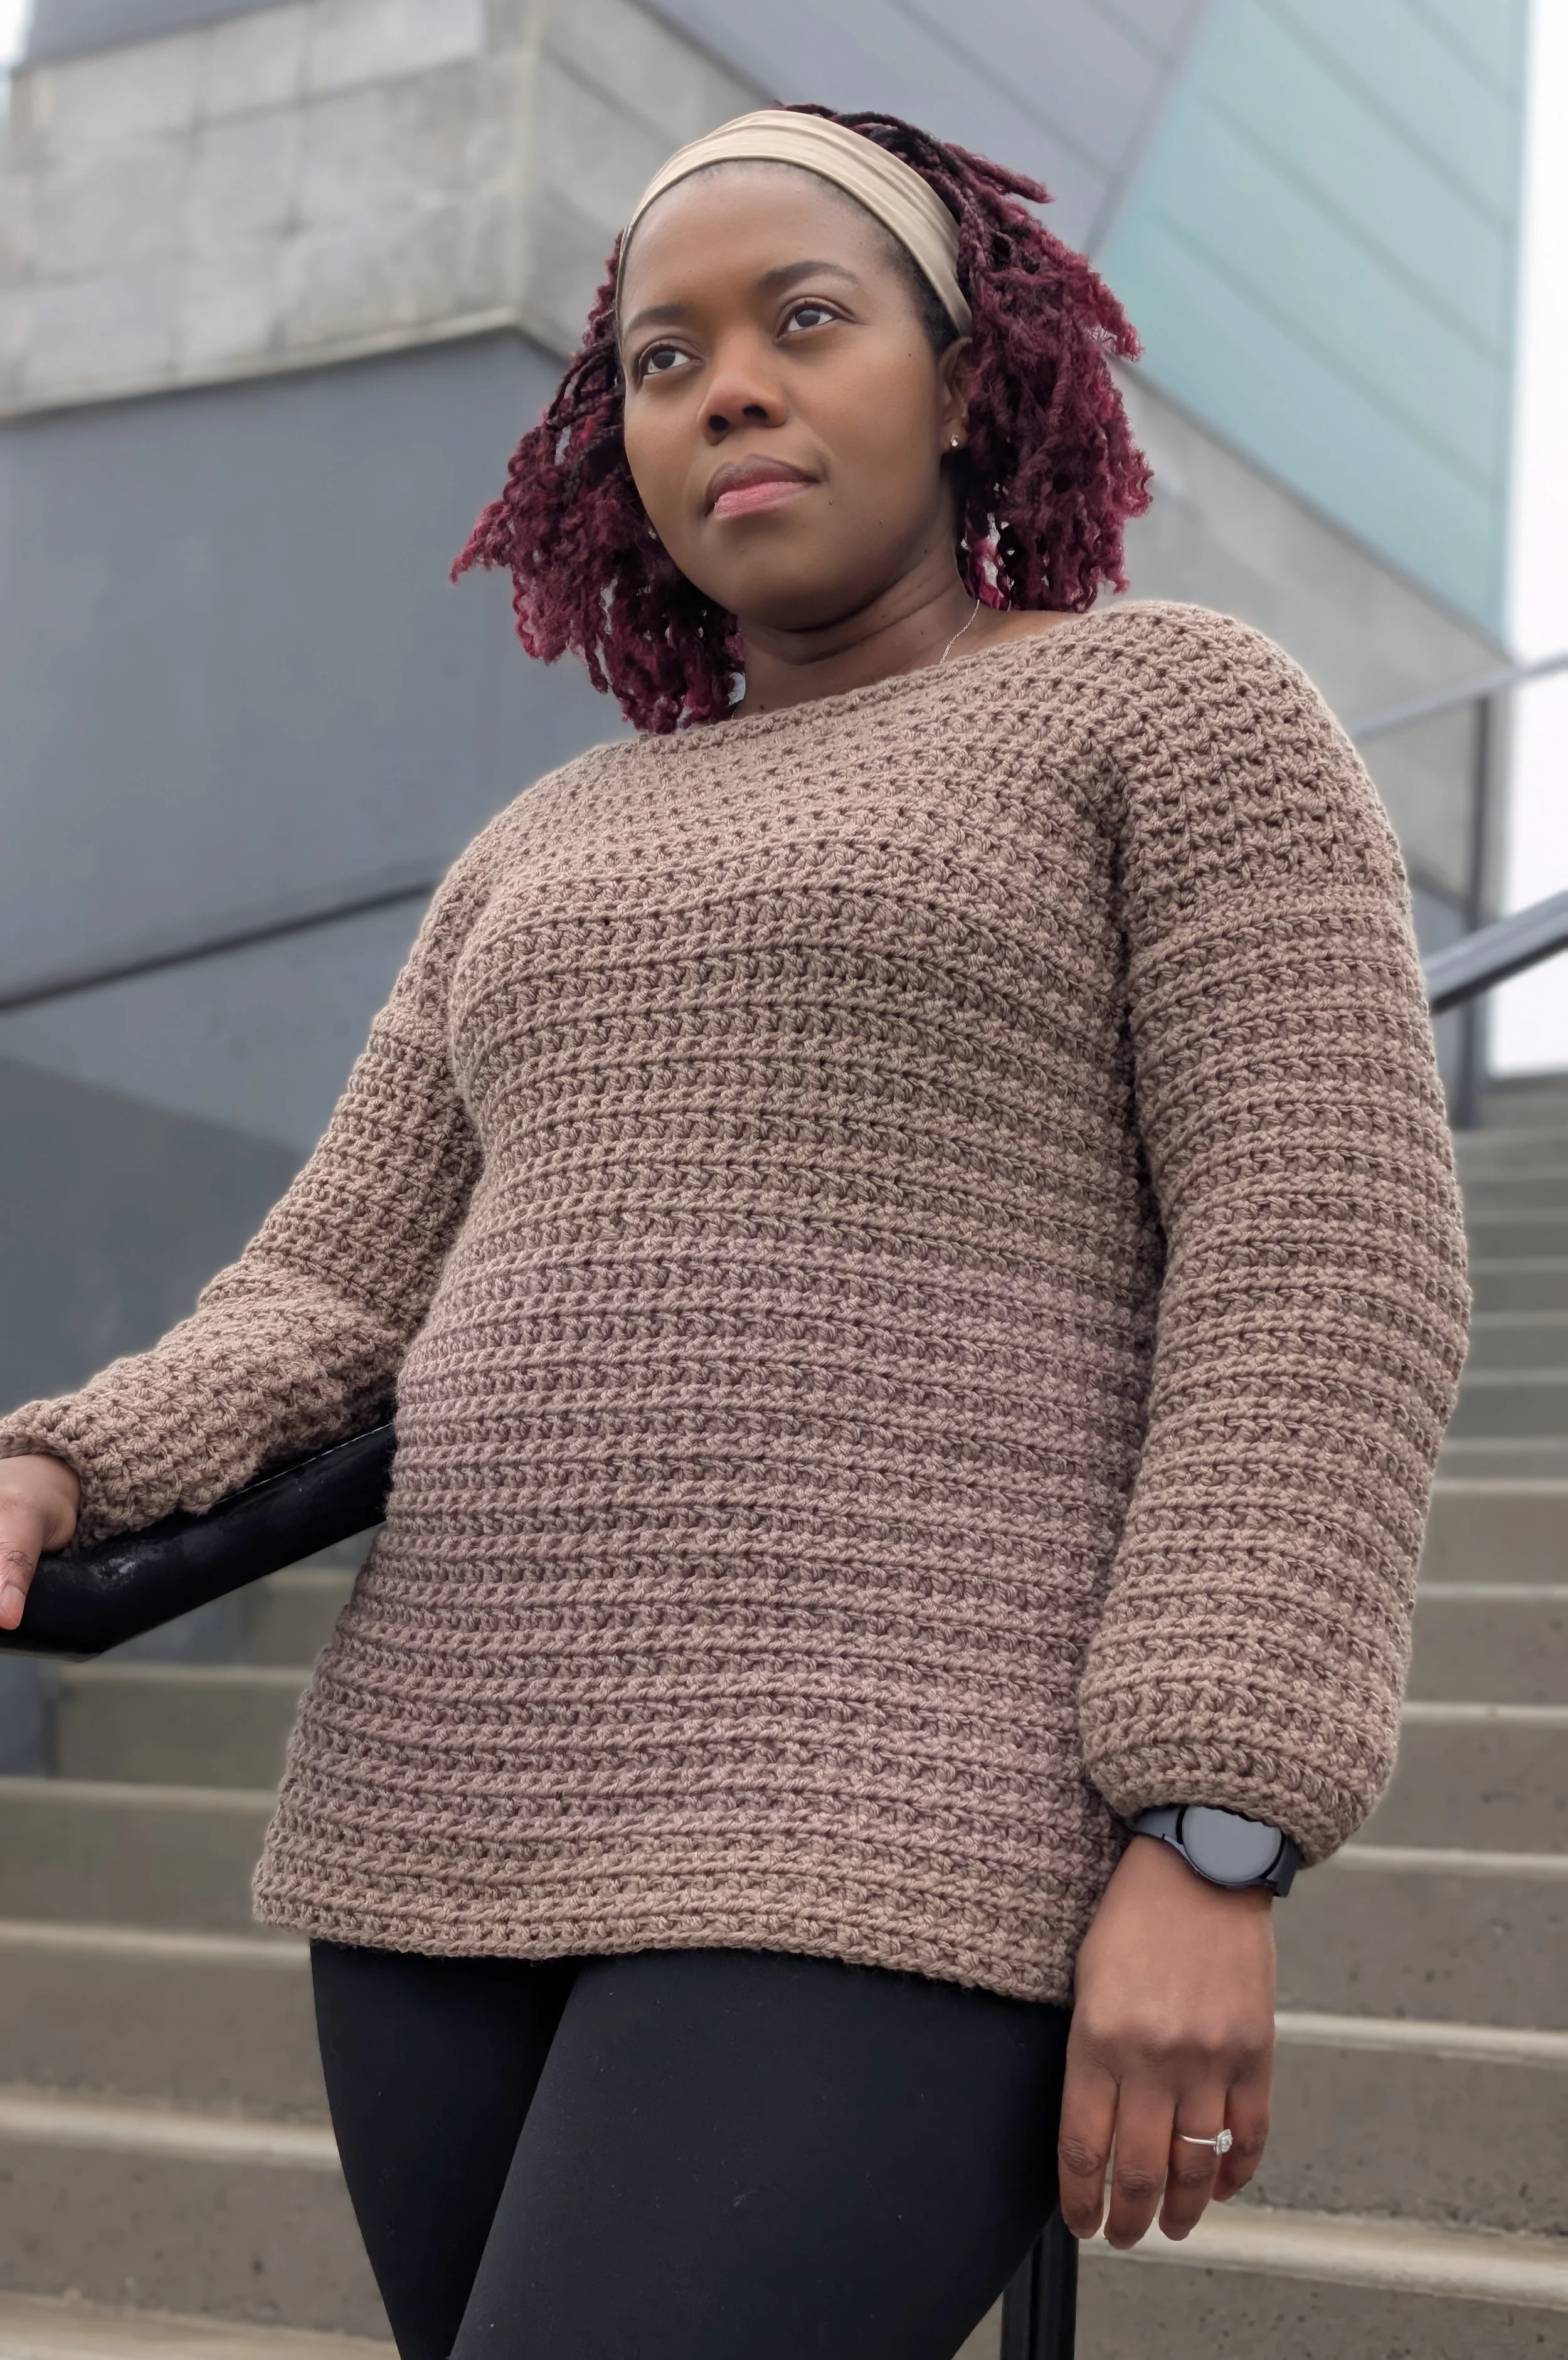
I have designed several patterns using this stitch and they are versatile. They can be dressed down or up. Smart Casual is trending these days and this collection provide that
YARN
For all these patterns I used a sleek, soft yarn of Rayon Bamboo by Lion Brand Truboo and Loops and Threads Soft Silk respectively. Though the yarns are from different Companies, they are identical, The only difference between them is the colour choices. Check out Truboo yarn Here
I also think Gloss DK by wecrochet.com would be a great substitute for this yarn if you have it in your stash
MATERIALS
4mm hook or hook needed to obtain gauge
DK weight yarn, Loops and Threads Silk Soft.240yd/3.5oz.219m/100g
GAUGE
10 rows and 18 sts= 4 X 4 in/ 10 X 10cm
NOTES US TERMS
· Pattern needs multiples of two.
· Panels are made with 2 vertical panels, seamed in the middle to create a neckline.
· Length of the top can be modified at the beginning by increasing or decreasing starting chains.
· Mattress stich was used to seam the top but you are welcome to use your preferred method.
· Pattern comes in sizes XS, S, M, L, XL, 2XL, 3XL.
Ch 3 counts as dc throughout, so you will be working into it.
YARDAGE
750, 800, 850, 910, 970, 1000, 1020 m
820, 875, 930, 995, 1061, 1094, 1115 yd
ABBREVIATIONS
Fsc – foundation single crochet
Sk – skip
Dc – double crochet
Ch(s) chain(s)
Sc – single crochet
SM – Stitch marker

Click the picture to purchase size inclusive Pattern
Pattern

SEAMING
NECK OPENING
Lie the panels side by side and count 71, 71, 71, 73, 73, 73, 73, stiches from the bottom to the centre and secure them with locking stitch markers. Using long tails, seam the panels together from the bottom to the SM using mattress stitch.
Repeat on the other side.
ARMHOLES
Count stitches until you reach 94, 94, 94, 98, 98 ,98, 98 (this marks the centre of the front and back panel. Put a SM and fold the panels in half and lie them flat. Count 29, 32, 34, 36, 38, 40, 42. stitches from the top towards the bottom and put stitch marker. Seam the sides from the SM to the bottom.
SLEEVES
Using 4mm hook, insert the hook at the bottom of the armpit hole and pull up a loop.
Round 1: ch 1, Sc in each st adjacent to the panels and around. Join the round with sl st.
Round 2: ch 2 and turn. Sc in each st around the arm.
Repeat round 2 one more time. Join with sl St. cut yarn and fasten off.
FINISHING
Weave in ends and cut yarn.
VOILA!!! YOU ARE DONE!! I hope you had fun making this top.