

Cozy, Stylish Light weight Triangle Shawl
PURCHASE AD FREE PATTERN BELOW
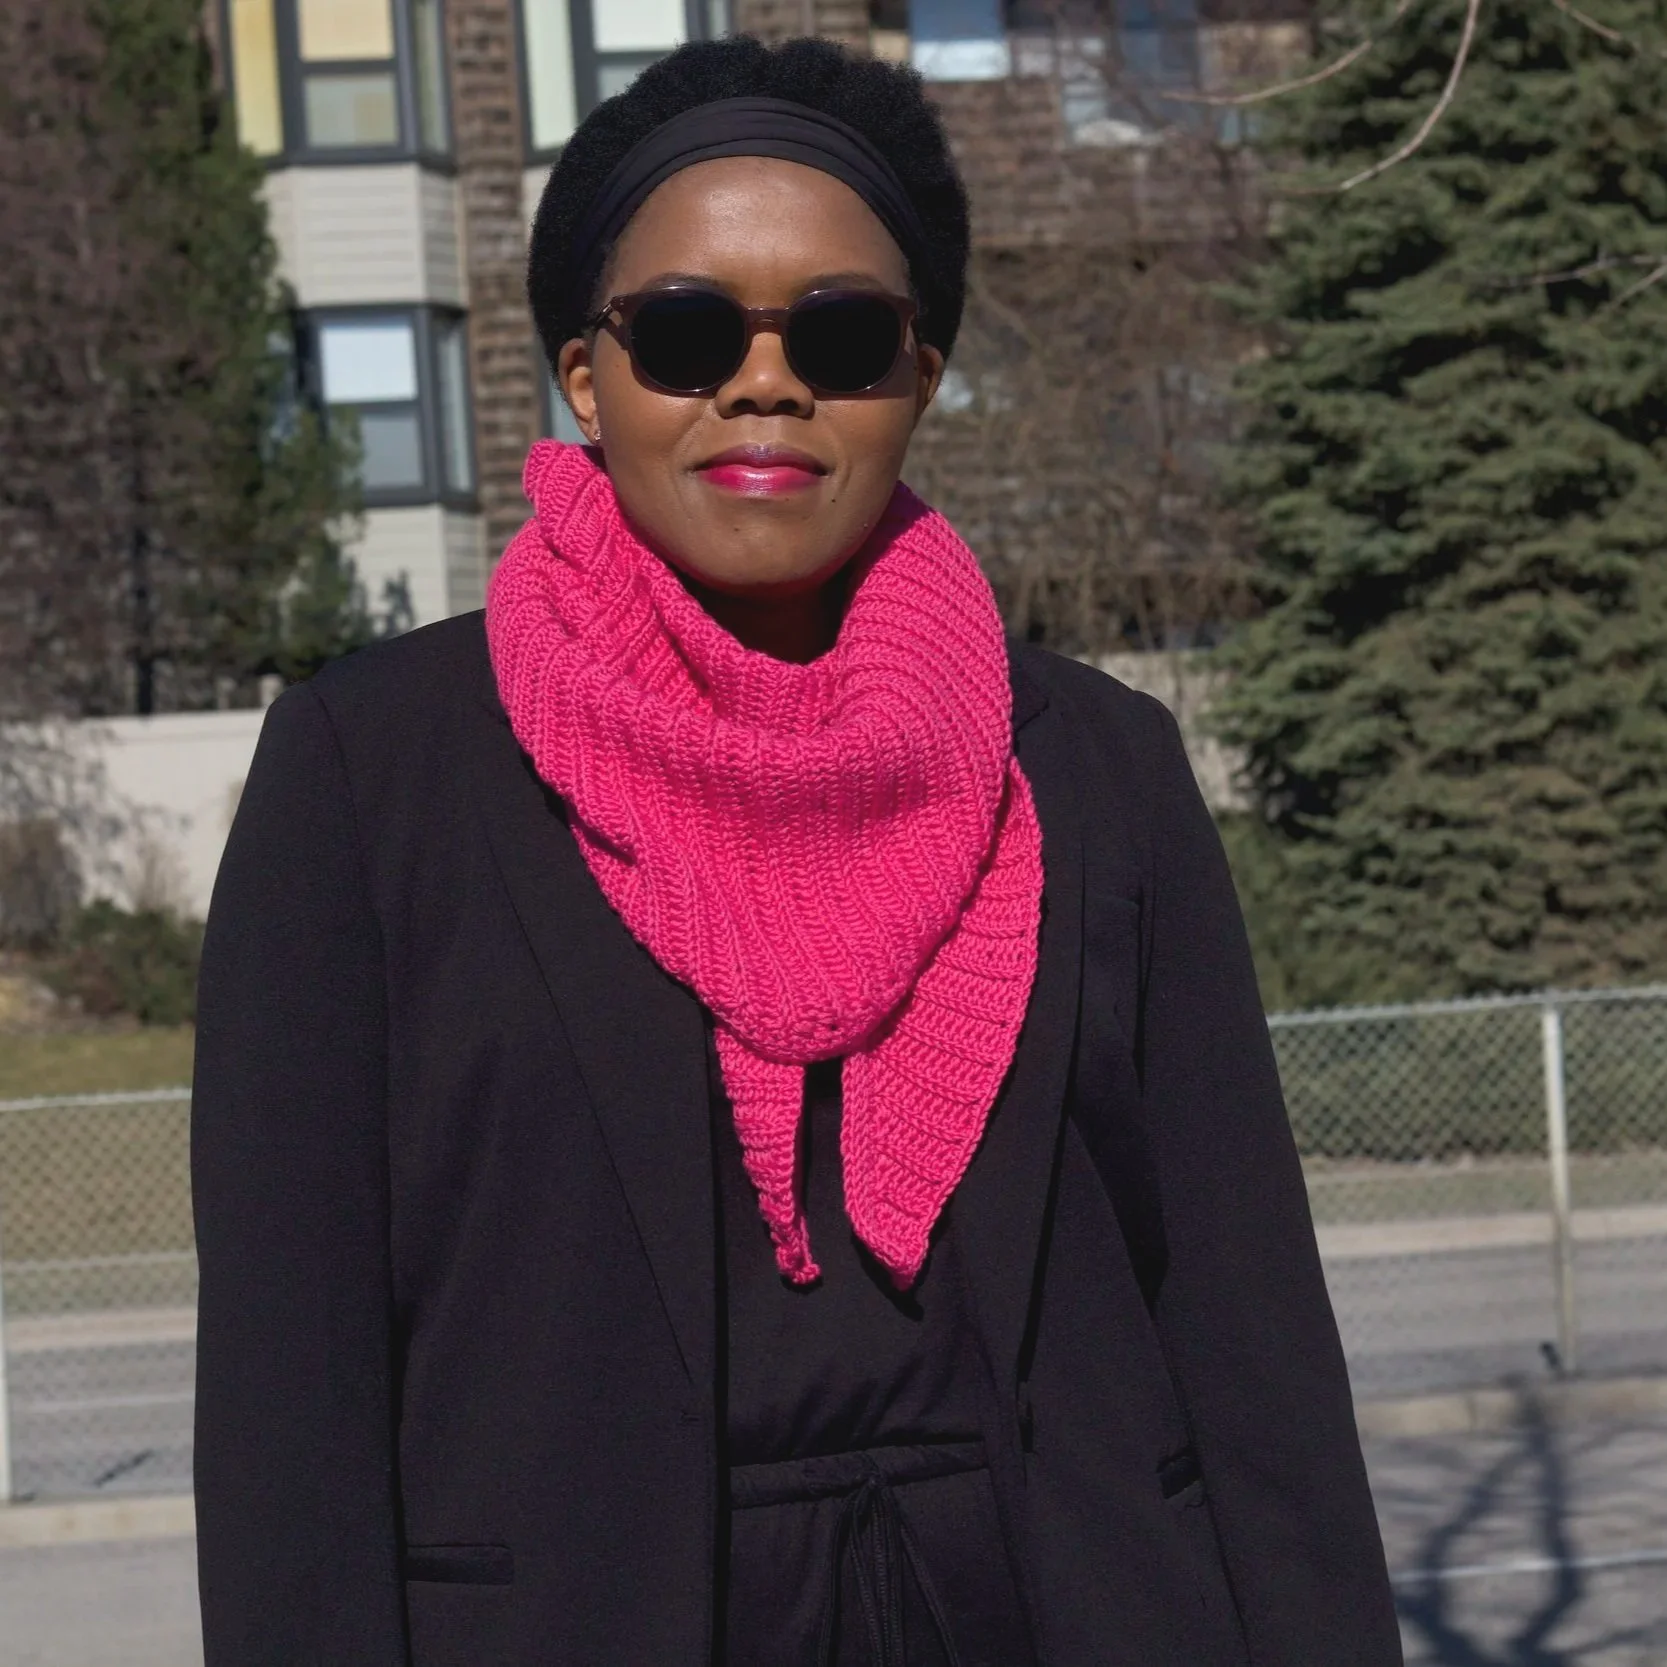
Spring is the best time to take out the light weight accessories. There is always in between temperatures that require a beautiful pop of colour when out and about.
Most spring days, it is cold in the morning, warm during the day and cool down at the end of the day.This shawl answers all those issues. It is not too heavy that you feel the need to take it out. You can loosen it around the neck while in the office and have it tighter when you go out and it’s nippy.
The inspiration of this shawl comes from a trending snood that was every where few month ago. I love shawls and scarves of all shapes and sizes, and I wanted to share this with you to be all fashionable, functional and add colour to the wardrobe. The is light weight, acrylic and cotton blend and it makes is breathable. It is honestly the best wind breaker you could own. I normally go with more neutral colours when I design shawls except the one below.

I played with colour on the shawl above and I had so much fun and I still enjoy 4 years later.
Disclaimer
This page contains affiliate link to product I use and love.If you click and purchase, I receive a small commission at no cost for you.
Anyway I digress, The shawl inspired me to go with bold colour and I am loving it. Th
Yarn
The yarn used for this shawl is a 60% cotton, 40% acrylic Called Softee Cotton by Yarnspirations and it is so soft, has a light sheen and creates beautiful drape. I bet if you substituted with these, the drape would be as beautiful.The combination of cotton and herringbone stitch provide a defined look and show each stitch in detail which takes me to an issue that I will ignore the fact that it splits. I will definitely use it in the future for sure.
Versatility
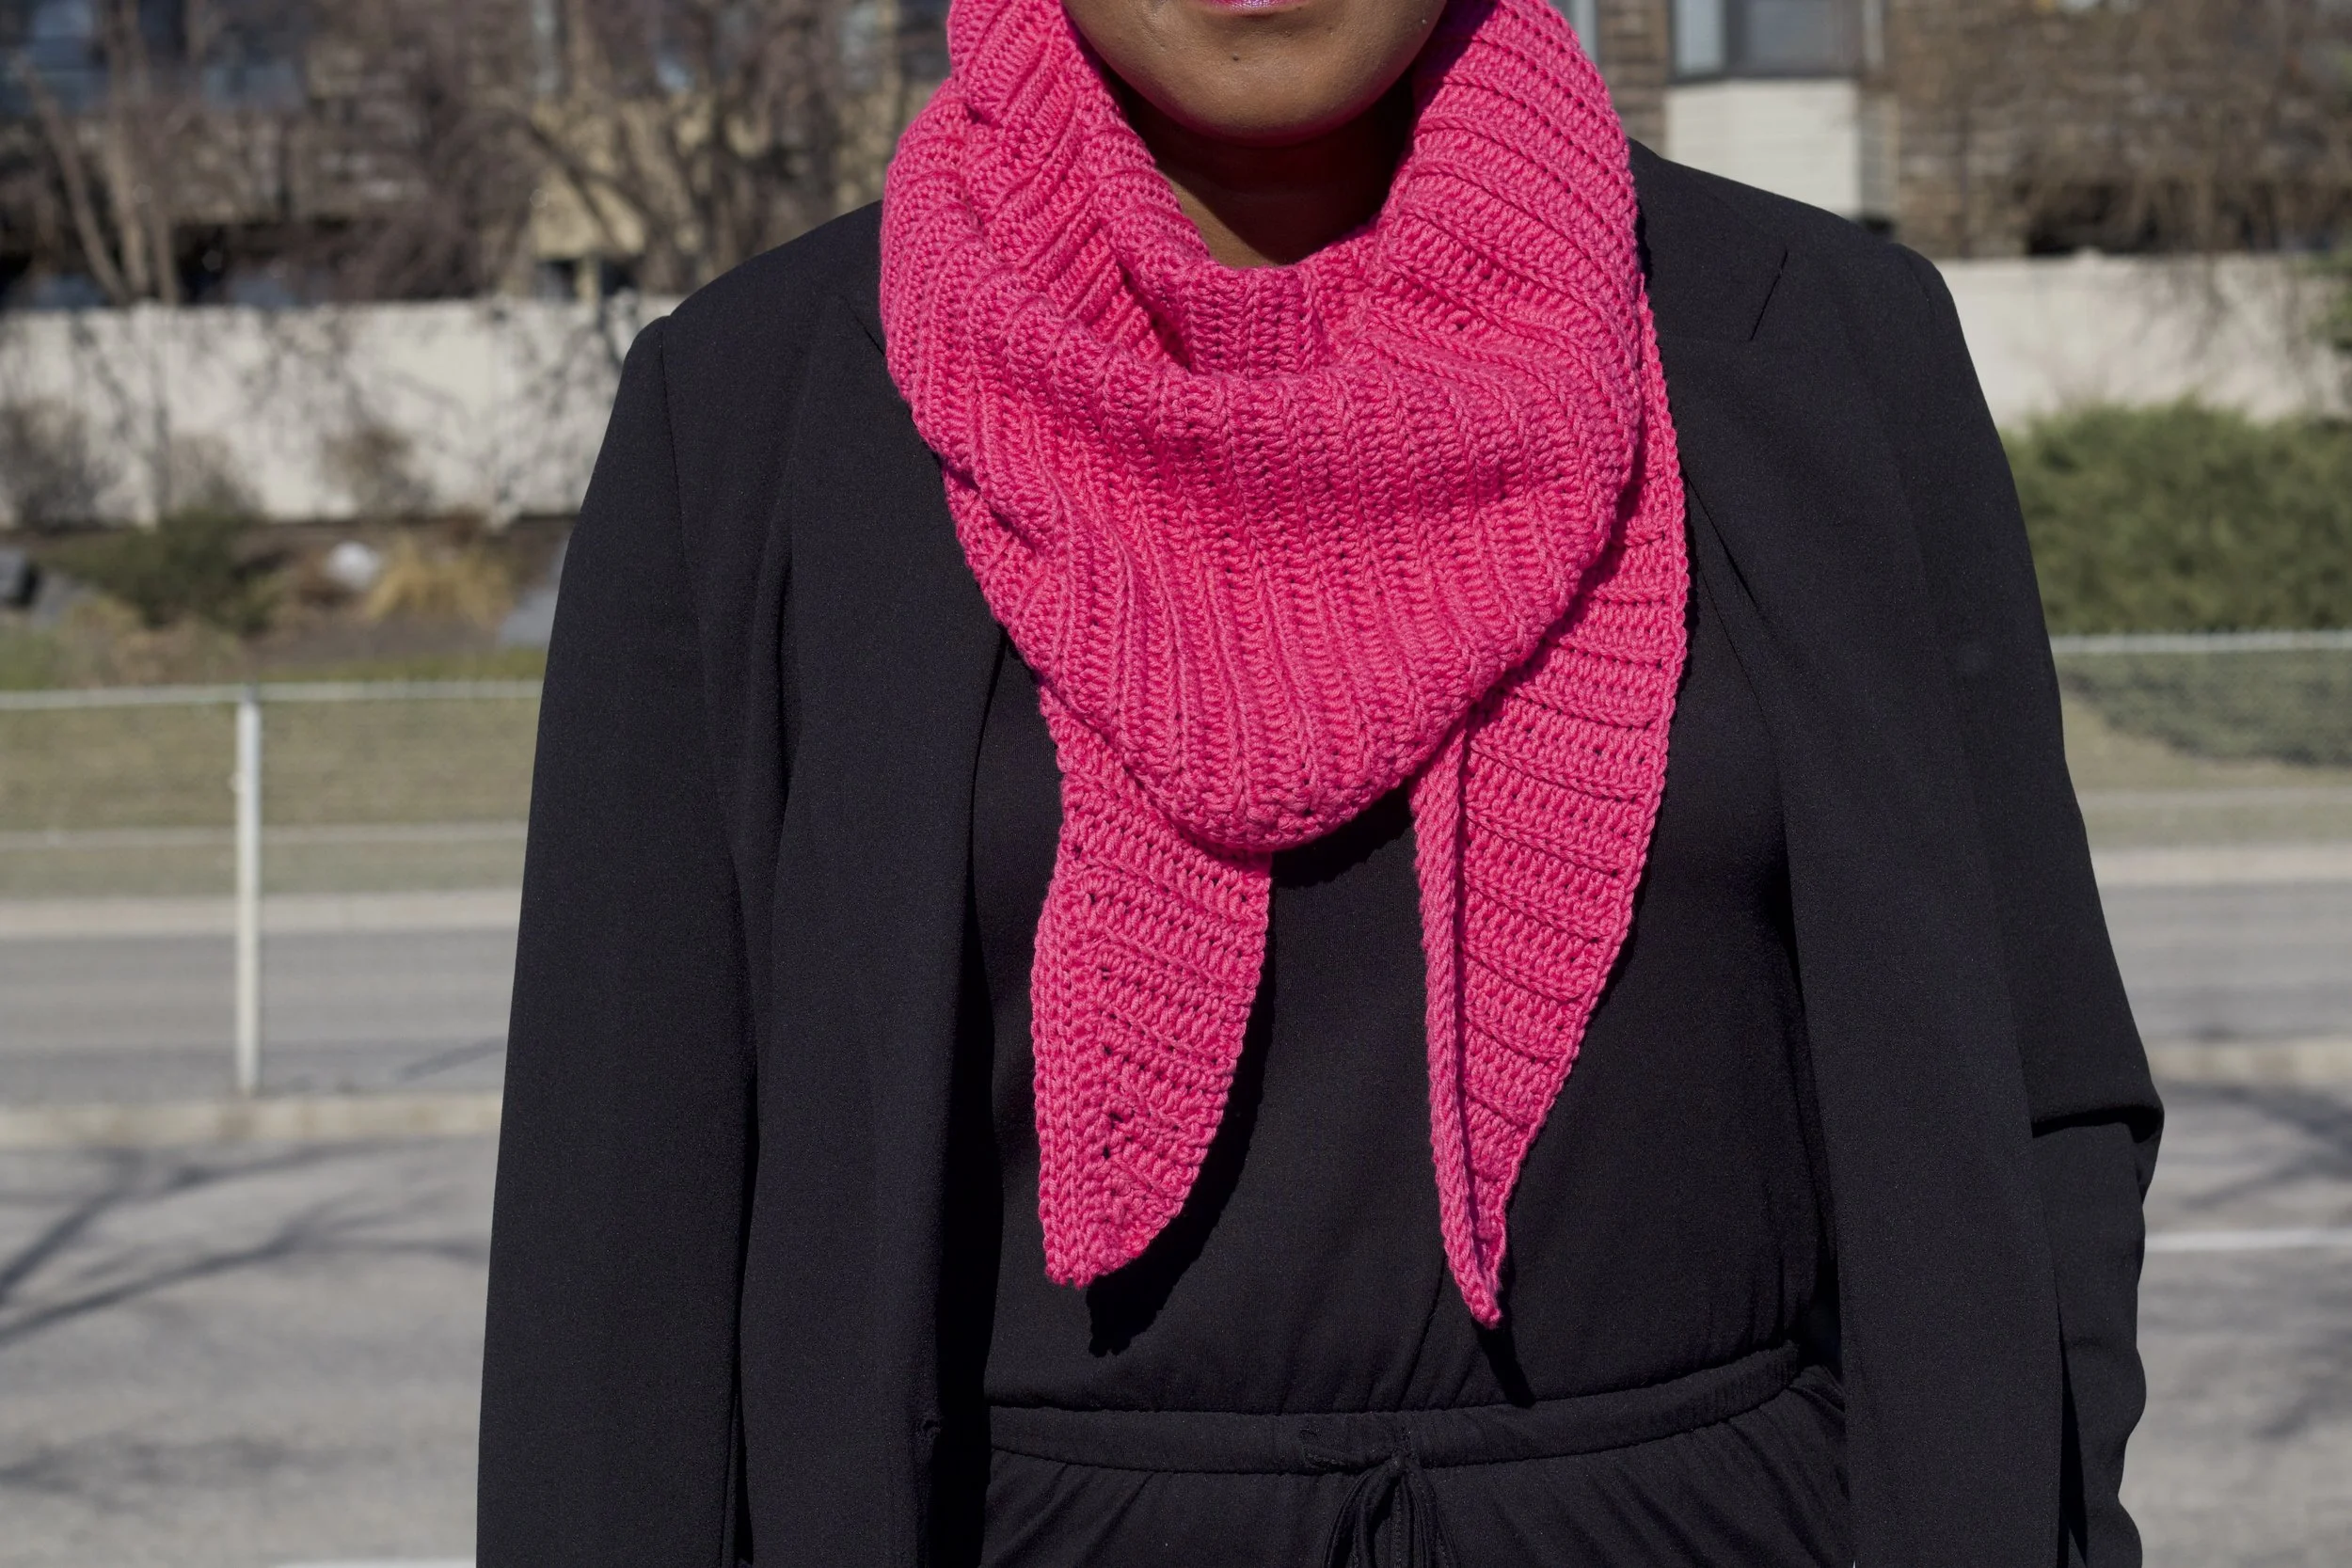
I like how this shawl can be worn; you can wear it backwards the other way around depending on the mood. Have the tip in the back and have the tips hang in the front securing if around and shirt or turn it around to cover your neck if it is chilly or need to cover your neck.
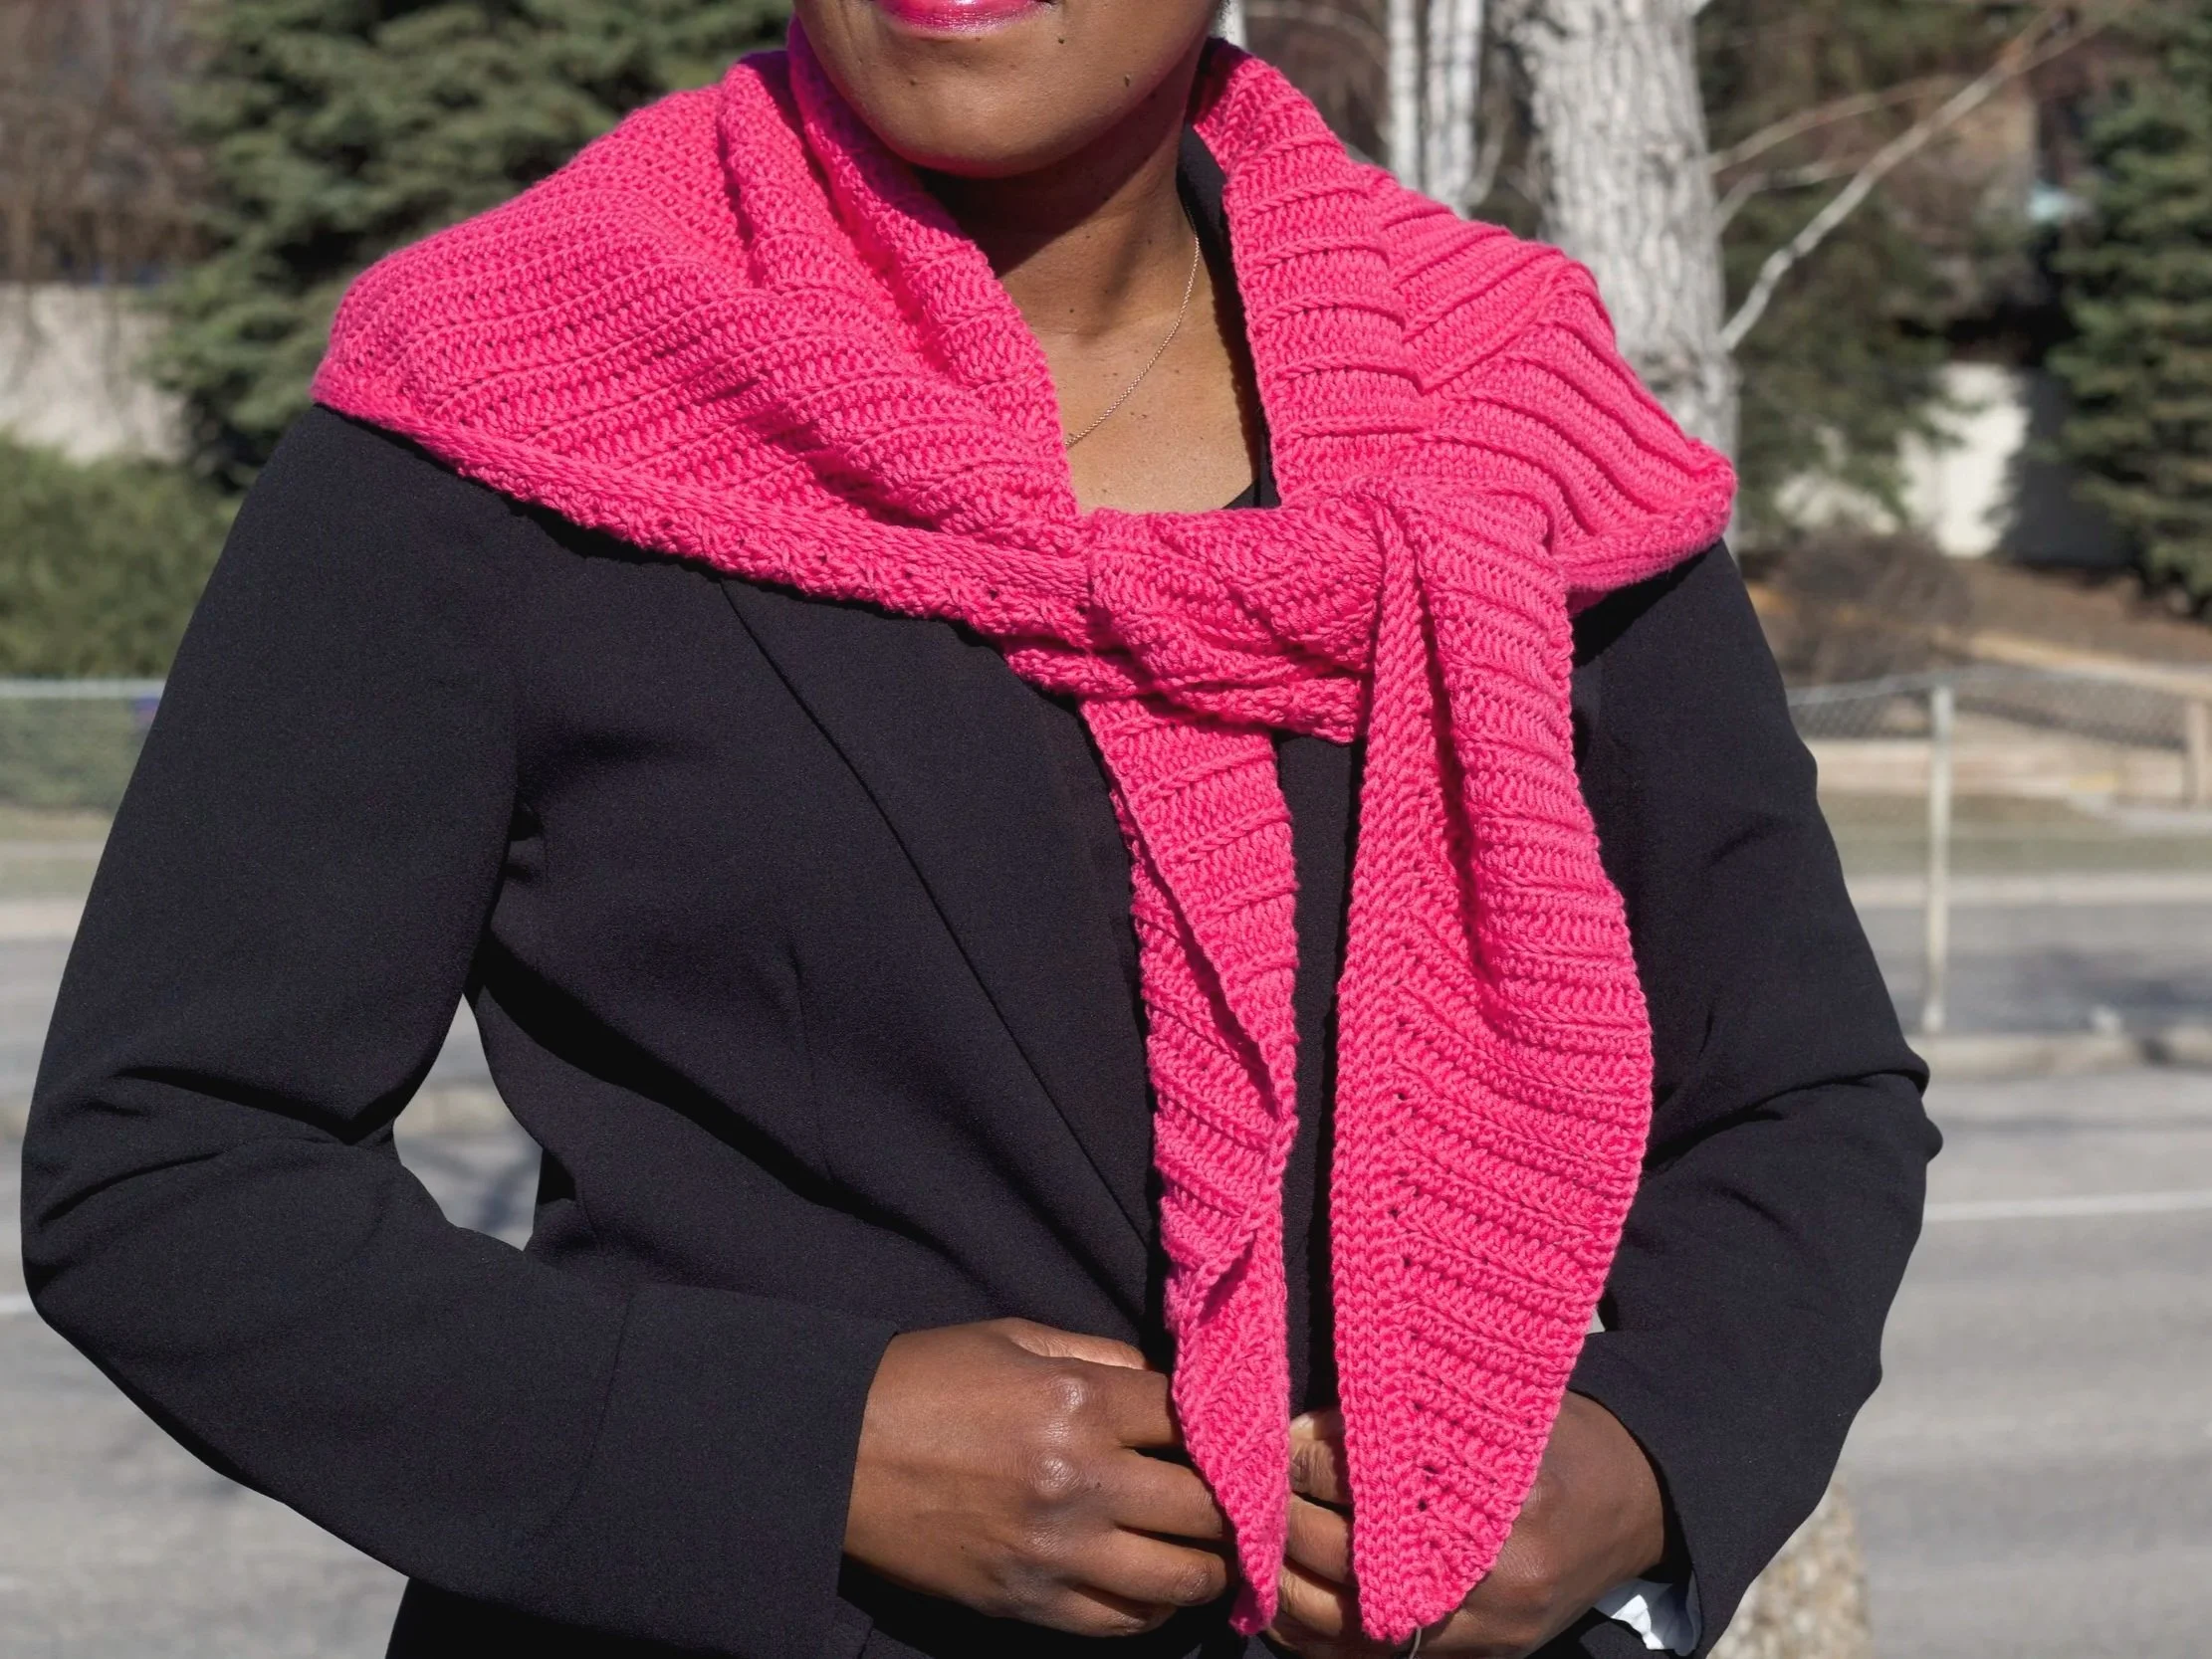
If you live in a place where you can have two or sometimes three seasons in a day, this shawl is perfect for you. Don’t forget to keep it in the trunk, you never know when it will come in handy.
This triangle is made by increases and decreases. The first part of the shawl is made by increasing every row until you reach the tip of the triangle. The second part is made by decreasing every row until you reach the end. You should have the same number of rows on each side when you are done.
You can find Video Tutorial below for visual
MATERIALS
4mm hook
Yarn needle
Scissors
DK weight yarn. Bernat Softee. 60%cotton, 40% acrylic.4.2oz/120 g. 254yd/ 232 m
SKILL
Advanced beginner
ABBREVIATIONS US TERMINOLOGY
Hdc – half double crochet
Hdc blo – half double crochet in the back loop
Hdc 2tog – half double crochet 2 stitches crochet
Ch – chain
Sc – single crochet
Sl st – slip stitch
Sc – single crochet
YARDAGE
564 m/ 616.8 yd
GAUGE
21 sts by 11 row = 4 X 4 in/ 10 x 10 cm square
NOTES (US TERMS)
· Increases are made every row to create a gradual triangle
· Decreases are made after reaching the peak in the triangle to create the same size.
· The bottom of the shawl is along the straight edge
· The top of the shawl is made up of the 2 sides making the tip of the triangle
· The edge is made continuously after working all the rows as one round.
· The ribbing is worked back and forth in rows after making an edge to make a clean finish
· Ensure your slip stitches are made loosely so that it is easy to insert the hook in the next row.
Pattern
SIDE 1
Row 1: ch 3, hdc in the third ch from the hook. (2 sts) (Ch 2, turn.
Row 2: 2hdc in the 1st st, hdc on top of the previous ch (3sts) ch2, turn.
Row 3: hdc in next 2 sts, 2hdc blo in the last st. (4sts). Ch 2, turn.
Row 4: 2hdc in the 1st st, hdc blo in the 3 sts. (5sts) ch 2, turn
Row 5: hdc blo in the next 4 st across, 2hdc in the last st (6 sts)
Row 6: 2 hdc blo in the 1st st, hdc blo in the next 5 sts. (7sts) ch2 turn.
Rep rows 5 & 6 to row 84 (85 sts) ch 2 & turn.
SIDE 2
Row 85: hdc 2tog blo in the first 2 stitches, hdc blo in each st across. (84 sts) ch 2, turn
Row 86: hdc blo in the first st and into each st across until you reach the last 2 sts. Hdc 2 tog in the last 2 sts. (83sts) ch2, turn
Row 87: hdc 2tog blo in the first 2 stitches, hdc blo in each st across. (82 sts) Ch2, turn
Row 88: hdc blo in the first st and into each st across until you reach the last 2 sts. Hdc 2 tog in the last 2 sts. (81sts) ch2, turn
Repeat rows 87 & 88 until row 168. You should have only 2 sts left at the end of row 168. (2sts) Ch 1.
EDGE
Round 1: Continue from the corner and work 2 sc along the straight edge of the shawl. Sc, ch1 sc in the next corner, 2 sc against the hdc st until you reach the tip of the triangle, sc, ch1 sc on the tip, continue with the 2sc until you reach the end.
Ribbing
Note: It is only made on the 2 sides shawl.
Row 1: ch 1, turn. Sl st in the blo first st along the top of the shawl in to each st to end of the shawl
Row 2: ch1, turn. Sl st in the blo into each st across.
Repeat to row 5. Cut yarn, fasten off and weave in ends.